Sub-Department List | DocumentationTable of Contents |
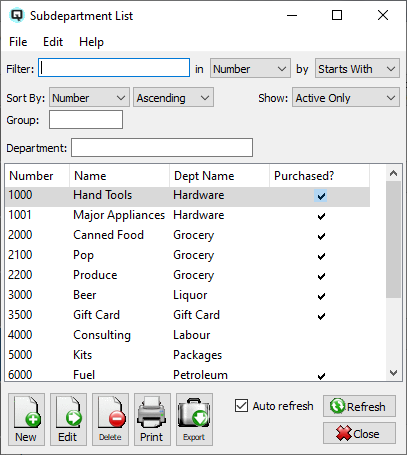
The sub-department list displays a complete list of inventory sub-departments. New sub-departments may created and existing sub-departments may be viewed and edited.
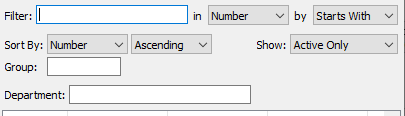
Use the filtering section to determine exactly what sub-departments you wish to view and how you wish to sort them on the list.

The number assigned to the sub-department
The name of the sub-department
The department that the sub-department is linked to.
Shows if the items in this sub-department are purchased
NOTE: For each workstation you can change the default columns that are displayed on the list. Click on "File" at the top of the list screen. From the drop down menu select "Configure...". Use the list configuration screen to configure the columns to view on your list.
You can choose to update or refresh the data in the list automatically, as it is changed, or alternatively, you can choose to have the data refresh only when you click on the "Refresh" button. If speed is not an issue, you will probably choose to always auto refresh. Toggle on to auto refresh. Toggle off to refresh only on command.