Send Email | DocumentationTable of Contents |
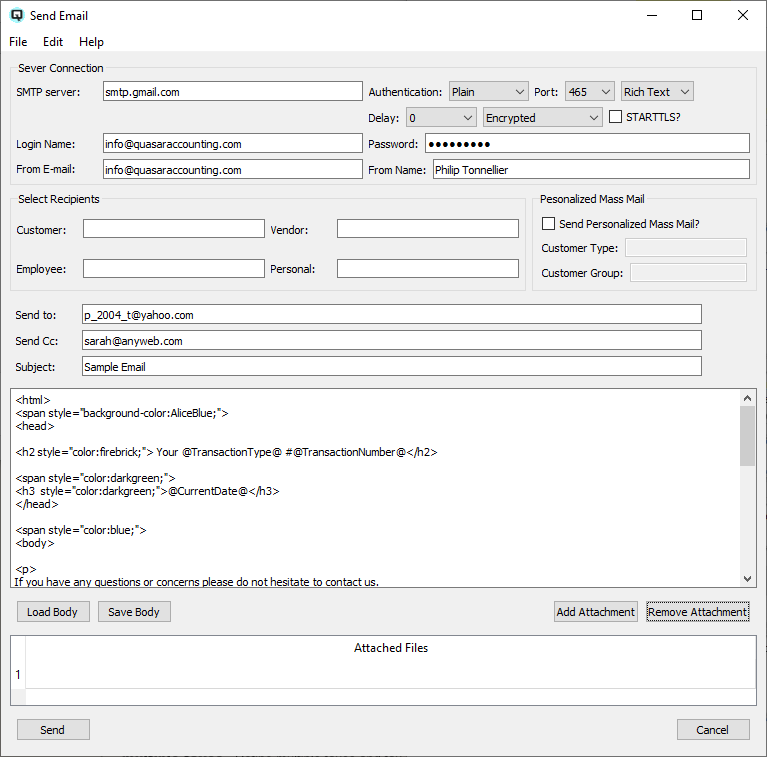
The send email is an integrated function designed to simplify tasks such as sending out mass electronic statements, forwarding documents such as invoices to customers and sending personalized bulk mail for promotions and notifications.

Set the connection parameter provided by your SMTP (Simple Mail Transfer Protocol) provider. Choose the provider that best serves your business. Follow your providers recommended settings. Quasar will save these settings on the user's computer to save you having to enter them each time you wish to send an email.
The login address of your SMTP server.
Quasar supports three authentication methods. Plain, Login and CRAM-MD5. Select the one recommended by your SMTP provider.
While Quasar supports logins on ports 25, 465, 587 and 2525 the two most common are port 465 and port 587. Port 465 is often used for SSL (Secure Sockets Layer) which provides immediate encryption. Port 587 is often associated with an unencrypted login followed by a request to start encryption known as STARTTLS.
Select to send either rich text or plain text. Plain text is simple text that is displayed to the recipient exactly as it was sent. Rich text is HTML format and supports styling such as colors, styles and sizes providing a more professional looking email.
Some service providers limit the number of email you can send in a minute. As an example, if your provider limits your email to 6 per minute you would set the delay at 10 seconds. If your provider limited you to 30 email per minute your delay would be set to 2 seconds.
Sends a request to login as encrypted SSL (Secure Sockets Layer).
Logs into the the SMTP server unencryped. Most providers will then expect you to STARTTLS encryption for security purposes.
With an unencryped login you may request the server start encryption. Many SMTP providers demand it. Port 587 is almost exclusively used for this purpose.
Your unique login name provided to you by your SMTP provider.
Your login password set up by you or provided to you by your SMTP provider.
Enter the email address of the sender. This will give your customers an email address to respond to.
The name of the sender used to personalize the email.
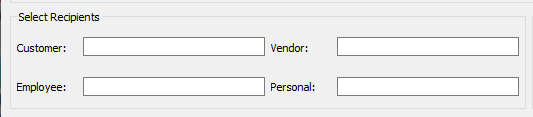
For regular email you can select your recipients using Quasar's standard lookup functions. These include customer, vendor, employee and personal. When you make a selection and press "Return" Quasar will prompt you to choose ether a "To" recipient or a "Cc" recipient. You can add any combination of recpient types to either the "To" or the "Cc" field. Alternatively you can add recipients manually by separating each recipient with a comma.
Select the customer lookup to send email to a customer. Press "return" to move the customer email address to either the "To" list or the "Cc" list.
Select the vendor lookup to send email to a vendor. Press "return" to move the email address to either the "To" list or the "Cc" list.
Select the employee lookup to send email to an employee. Press return to move the email address to either the "To" list or the "Cc" list.
Select the personal lookup to send email to an acquaintance. Press return to move the email address to either the "To" list or the "Cc" list.

Used to send mass mail to multiple customers in your database. This can be used as a promotion tool or as an electronic notification.>/p>
Toggle on or off. Toggle on to select mass mail recipients.
Select all customers within a customer type who have valid email addresses.
Select a customer group to create a list of recipients. A common use of this would be to create an "E-mail" customer group. Put all customers who have agreed to be on your mailing list in this group.
Enter the regular recipients email addresses manually or use the lookup functions to create a list of addresses. When an email is generated from one of the customer or vendor screens the appropriate email address will be entered for you.
Enter the copied email addresses manually or use the lookup functions to create a list of addresses.
The subject of the email.
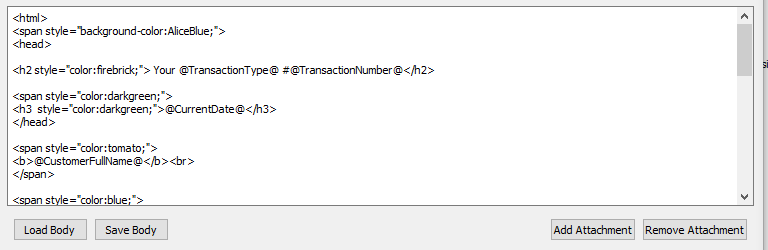
Enter the contents of email. This can be done manually, copied from a file or inserted from a template file using the "Load Body" button. A series of "Wild Cards" has been developed to fill data in for you. Simply include the "Wild Cards" in the body. The list included below should be self-explanatory:
For all email (Note- for system generated statements the store information is the "Address Store" you set in the "Print Statements" screen.)
Valid only for emailing a report initiated in one of Quasar's customer screens. (Note - the the customer first name and the last name are replaced by the full name for a business. Thus refrain from using both if emails are not specifically targeted to non-company customers.)
Valid only for emailing a report initiated in one of Quasar's vendor screens.
Valid only for emailing statements initiated in Quasar's "Print Statement" screen.
Click on the load body button to load the email contents from a template file. You can create as many templates as you feel may be necessary. Remember to test your templates before using them with customers and vendors.
Click on the save body button to save the contents of the body.
Click on the add attachment button to select one or more attachments to add to the attachment list.
Highlight the attachment you wish to remove and click on the remove attachment button to remove it.
Click on the send button to send the email.
Click on the cancel button to cancel the email process and close the screen.