Location Master | DocumentationTable of Contents |
The location master window is used to define the location addresses within your business. These location addresses can then be used for item reporting and for physical inventory purposes.
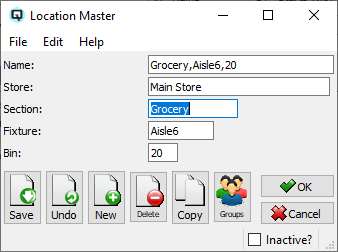
The name of the location. The location name is unique in that you can not enter it manually. Quasar creates the location name from the section, fixture and bin. For example, section "Tools", when combined with fixture "Aisle1" and bin "34" will create the name "Tools,Aisle1,34".
The store in which the location is found.
The highest level in the item location. For example, in a hardware store or warehouse you may have a tool section, paint section, plumbing section and an electrical section. In a grocery store or warehouse you may have a canned foods section, meat section, and produce section. In a shoe store you may have a mens casual section and a ladies casual section.
The second level in the item location. For example, an item may be in section "Tools" and on fixture "Aisle1".
Toggle on or off. Toggle on to set the location to inactive. Toggle off to re-set the location to active.