Location List | DocumentationTable of Contents |
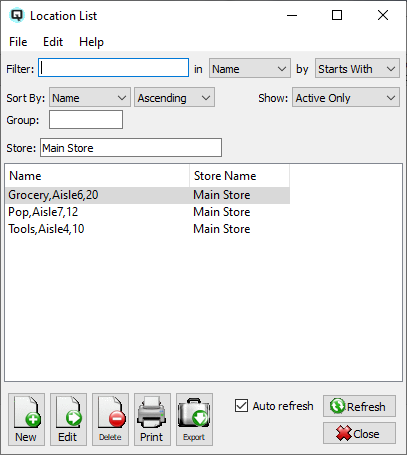
The location list displays a complete list of the inventory locations specified for your company. You may specify one location, per item, per store. Defining the location or address of your items is very helpful when running reports and/or doing functions like taking physical inventory.

Use the filtering section to determine exactly what locations you wish to view and how you wish to sort them on the list.
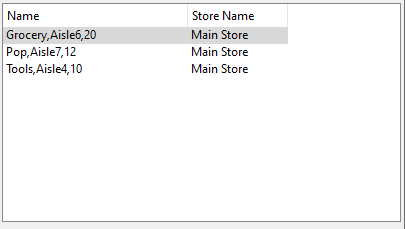
The name of the location. Location names can include up to three parts separated by commas. In the example "Tools,Aisle1,34" the item can be found in the tool section, in aisle1, bin 34.
The store for which the location is defined.
NOTE: For each workstation you can change the default columns that are displayed on the list. Click on "File" at the top of the list screen. From the drop down menu select "Configure...". Use the list configuration screen to configure the columns to view on your list.
You can choose to update or refresh the data in the list automatically, as it is changed, or alternatively, you can choose to have the data refresh only when you click on the "Refresh" button. If speed is not an issue, you will probably choose to always auto refresh. Toggle on to auto refresh. Toggle off to refresh only on command.