Consignment (In) Master | DocumentationTable of Contents |
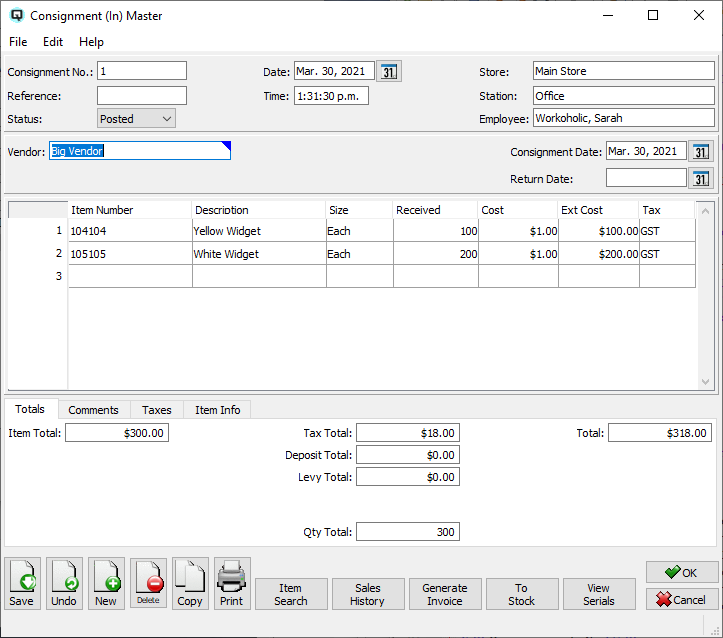
The consignment (in) master is used to bring merchandise into your store on consignment. Under normal circumstances consignment stock is owned by the vendor (consignor) until it is sold at which time it will be purchased by the (consignee). Thus consignment stock does not impact your general ledger until such time that you purchase the items using a vendor invoice which is created using the "Generate Invoice" button on this screen.
The consignment number is incremented by Quasar. This may be changed by the user. If the consignment number entered is the same as an existing consignment number then a warning message will be displayed.
A number that references the consignment. For example, the vendor may provide you with a consignment order number.
The status of the consignment.
The default status. Set to "Posted" to post the consignment to the general ledger.
Set to "Suspended" if the consignment is not yet posted to the general ledger. You can suspend an incomplete consignment and work with it at a later date, posting it when you are finished.
The consignment is voided or inactive.
The date for the consignment.
The time the consignment was created.
Select or change the default store. If a store has been defined for the user, then the user's store will display by default. If no store has been defined for the user, then the default store specified in the startup will be displayed.
The station (work station) on which the consignment is created.
The employee creating the consignment.
Select or enter the vendor providing you the consignment inventory.
The date of the vendors consignment invoice.
Enter the date that the goods should be returned to the vendor or purchased in the event that they do not sell.
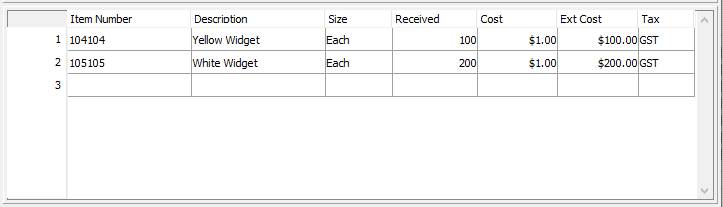
Use this section to enter items on the consignment.
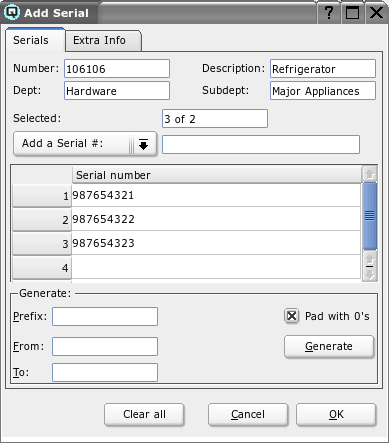
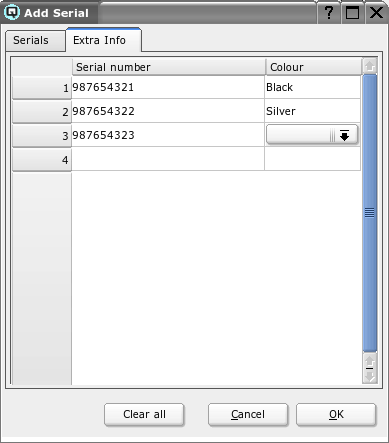
The item number of the product or products brought in on consignment. Note that if you enter an item that requires serial number tracking the "add Serials" screen will be displayed. From this screen you can enter a serial number for the incoming item and if necessary enter or select data about each specific serial numbered item using the extra info tab.
The description of the product or products coming in on consignment.
The size of the item.
The quantity of products being brought in. Only a positive number should be entered.
The cost per selling unit for each product.
The extended cost for the items on the line.
The purchase tax code for the item. This is defaulted from the data entered in item master window. However, the tax code may be changed by the user.
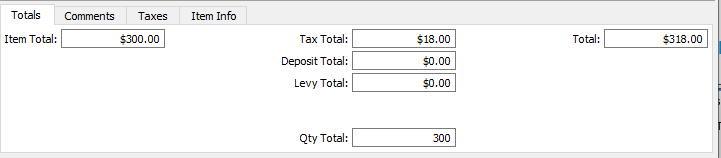
The totals folder displays the various totals for the consignment:
The net item total before taxes.
The accumulated total of all taxes.
The total of all container deposits.
The total amount of environmental levies.
The gross total for the consignment.
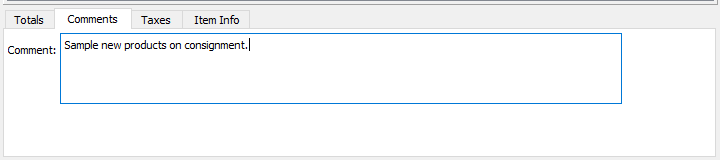
Any comments relevant to the consignment. All comments will be printed on the hard copy of the consignment.
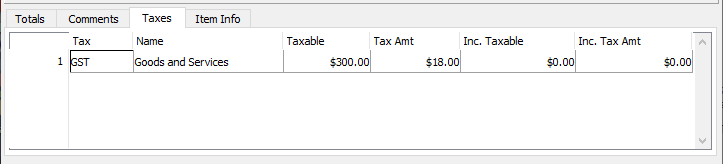
Quasar display a breakdown of the individual taxes.
The tax id.
The name of the tax.
The net base amount that a given tax is charged to.
The amount of tax allocated to the "Taxable" amount.
The net base taxable amount including the amount of the tax. (for items with taxes included in the price)
The net amount of tax calculated from the "Inc. Taxable" amount.
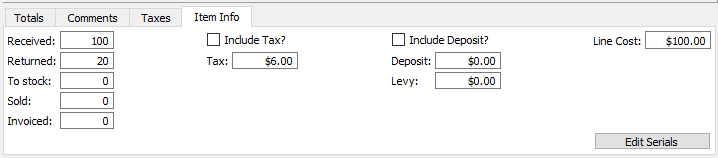
The item info folder displays specific information about an individual item(line) in the consignment. The information displayed will pertain to the line in which the cursor is placed.
The quantity of the item received on consignment.
The quantity of the item that have been returned to the vendor using the "Consignment (In) Return" screen.
Product may be purchased at anytime and placed into your regular stock. This field displays the quantity taken into stock.
The quantity of consignment stock that has been sold on an invoice.
As you sell the consignment stock you can generate vendor invoices to pay for it. This field shows the quantity that has already been invoiced.
Displays if the cost of the item includes taxes.
Displays if the cost of the item
Tax amount for the line.
The total of the container deposits on the line.
The amount of the levies assessed on the line.
Displays the gross total for the line.
Click on the edit serials button to edit the serial numbers assigned to the item. Note that by clicking on the extra info tab and by high-lighting the individual items you can view the extra information that may be available.
Click on the "Item Search" button to quickly find an item on the consignment.
Click on the "Sales History" button to view the sales history of the item.
Click on the "Generate Invoice" button to generate a vendor invoice for all the stock that has been sold and not previously invoiced.
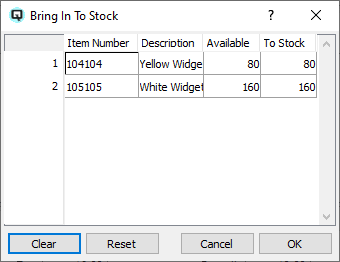
Click on the "To Stock" button if you decide to purchase unsold items on the consignment. The "Bring In To Stock" screen defaults to all un-purchased items but may be edited if you wish to purchase only a portion of the remaining consignment.
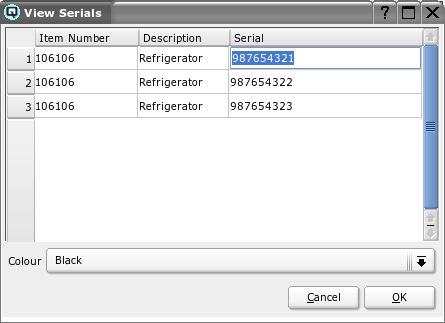
Click on the view serials button to view items on the consignment that require serial number tracking. Note that by clicking on and high-lighting a specific serial numbered item you can view or in some cases edit the extra item data.