Customer Master | DocumentationTable of Contents |

Toggle on or off. Toggle on if the customer is a company.
The name of the company.
The customer's surname.
The customer's given name.
Enter a number that can be used to identify a customer.
Select a customer type as defined in the customer type master screen. Selecting a customer type will populate the customer master screen with the default information for that type.

Add a new customer address. When you click on the add button the "Add Address" screen will be displayed.

The type of address.
Enter contact name.
The street address of the customer.
The city in which the customer resides or conducts business.
The province in which the customer resides or conducts business.
The customer's postal/zip code.
The country in which the customer resides.
The customer's primary phone number.
The customer's alternate phone number.
The customer's fax number.
The customer's email address.
The customer's Internet URL address.
Edit an existing customer address.
Delete an existing customer address.

Controls specific to this customer.
Enter a store if the customer is limited to a single store. Leave blank if the customer can purchase products in all stores.
Patronage groups are specific to co-operative organizations and are used to allow mulitple receivable accounts to be linked to one patronage group for patronage purposes.
Select the accounts receivable account that all transactions for this customer will be posted to.
Select the grace period type.
Select none if the customer payment terms will be defined using the terms field.
Select from posted date if the customer invoices will be due and payable based on a number of days from the posting date. The number of days are defined in the ``Grace Period Days'' attribute.
Select from statement date if the customer invoices will be due and payable based on a number of days from the statement date. The number of days are defined in the ``Grace Period Days'' attribute.
Enter the number of days grace that will be added to either the posting date or the statement date to determine an invoices due date.
Enter the payment terms for this customer. An existing set of terms may be used or a new set of terms may be defined. The payment terms entered here will appear by default on customer invoices. (More)
Enter the tax or tax group from which the customer is exempt.
Enter the maximum credit that will be available to the customer. The credit limit may be overridden at the point-of-sale or on the customer invoice with proper security clearance.
Toggle on or off. Toggle on if the customers credit privileges have been temporarily suspended. Note the credit hold may be overridden at the point-of-sale or on the customer invoice with proper security clearance.
The annual service charge percent that will be charged on past due invoices.
Toggle on or off. Toggle off if the customer is not to receive a hard copy of their statement during the statement printing process.
Toggle on or off. Toggle on if the customer wishes to receive an email copy of their statement during the statement printing process.
The customers personal identification number. The customer must enter their PIN number at the point of sale in order to charge to their receivable account.
The regular price for the item.
The price for customers that get customer level 1 pricing.
The price for customers that get customer level 2 pricing.
The price for customers that get customer level 3 pricing.
The price for customers that get customer level 4 pricing.
Toggle on or off. Toggle on if the customer's price level is always forced. With the toggle on, the customer cannot get take advantage of promotions or of price calculation reductions. Note - the "Force Price levels" only works with the four price levels and not with the regular price.
This section is used to define the types of transactions that can be created for this customer.
Toggle on or off. Toggle on if the customer can charge to a receivable account.
Toggle on or off. Toggle on if the customer can withdraw cash from their receivable account.
Toggle on or off. Toggle on if the customer can make a payment to their receivable account.
Toggle on or off. Toggle on if the customer can only withdraw cash when their receivable account is in a credit balance.
Toggle on or off. Toggle on if the customer should always receive a second copy of their receipt from a point-of-sale terminal.
Enter transaction discounts that will be automatically given to this customer when purchasing at the point-of-sale.

This section is used to view and adjust customer loyalty points. At the point of sale the customer can use these loyalty points to purchase loyalty discounts. For a complete understanding of loyalty points see the Quasar User's Guide.
Quasar displays the total loyalty points earned by the customer. Loyalty points allow customers to be rewarded for their continued loyalty by being able to purchase discounts with their loyalty points.
Quasar display the total loyalty points used by the customer.
Quasar display the total loyalty points from adjustments.
Quasar displays the total unused loyalty points available for the customer.
The adjustments table displays points admustments. You can add, edit or delete adjustments. You should always remember to give a reason for your adjustment in case you need to explain them to your customer.

A reference entered here is a required reference that must be entered for customer invoices, customer payments and customer withdraws for this customer. For example, a customer may request that a purchase order number be entered on every receipt.
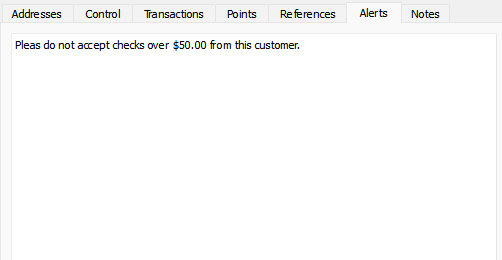
An alert entered here provides a notice to the sales clerk/cashier. For example, you may wish to alert staff not to take cheques from this customer.
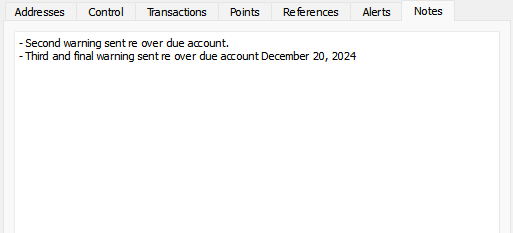
Record any notes about the customer.
Toggle on or off. Toggle on if the customer is no longer active. Quasar Accounting will not allow customers with a receivable balance to be set to inactive. Toggle off to make the customer active again.